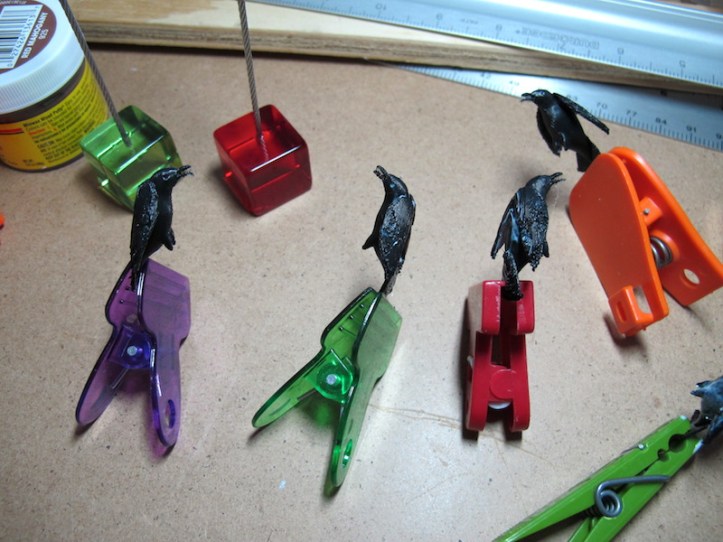
The Birds requires a lot of miniature birds and I thought about that when I proposed my project. But I thought it would be easy to find and buy the birds I wanted but that was a big mistake. After searching every online miniature shop, our local miniature store, and several miniature shows, I was only able to get these birds:
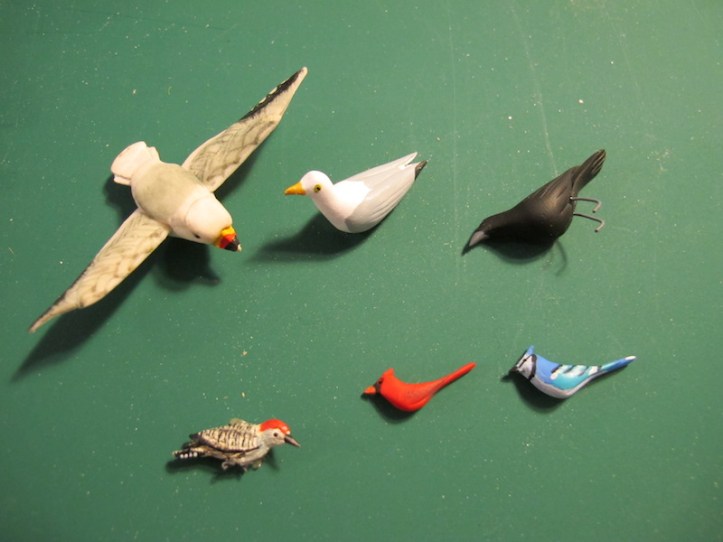
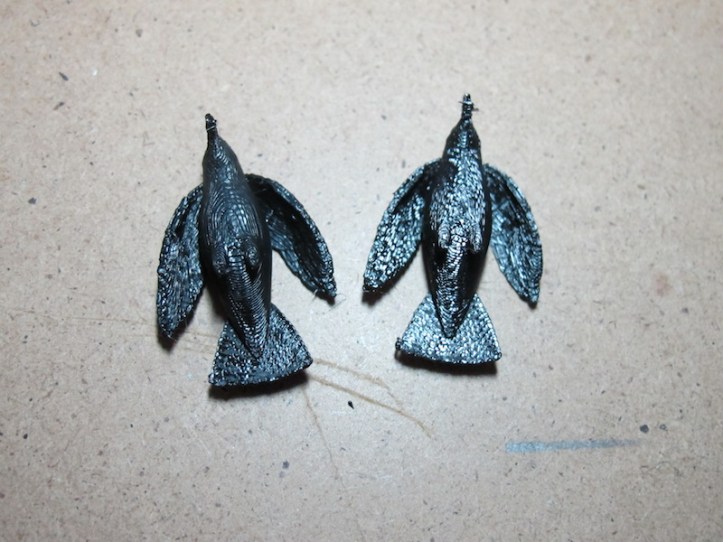
I’ll be able to use the small ones but they, along with the crow and seagull I need in great quantities, were just too expensive. So it was time to learn a new skill. Last year it was laser cutting which I learned how to do at Nextfab Studio here in Philadelphia. So I took two 3D printing classes at Nextfab but didn’t want to use their machines because it would take me too much time to perfect my models and finally print them and that, too, is expensive. So I bought an inexpensive 3D printer to experiment with and while I did not get any successful bird prints from it, I did learn the not-so-easy art of 3D printing, at home.
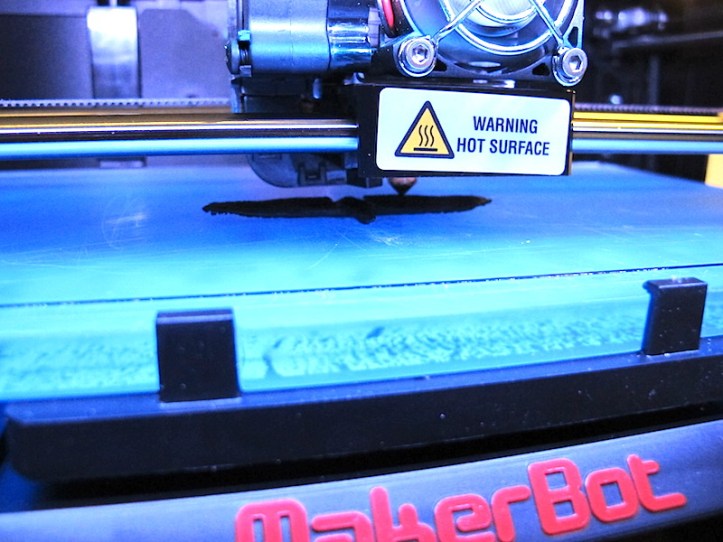
On to a better 3D printer, rated by Make magazine as one of the best in its price range: the Makerbot Replicator 2.

It’s not too big and fairly easy to use. I have to tell you that preparing complex models like those for a realistic looking birds is not easy. I have used models made for at least five different 3D modeling programs and have spent hours cleaning them up. I did not want to model my own because I like the detail that I found in the ready-made (and ready for purchase) birds. Once you get a model and pose it the way you want, it has to be processed to be printer ready and exported as an STL file (I am trying to make this a simple explanation but this is not an easy process). Finally the model has to be sent to the software for the 3D printer where it can be rotated (to have it print flat on the bed), sized, and placed on the printing bed. Discouraged yet? Wait till you see what you can do with it once you learn all this!
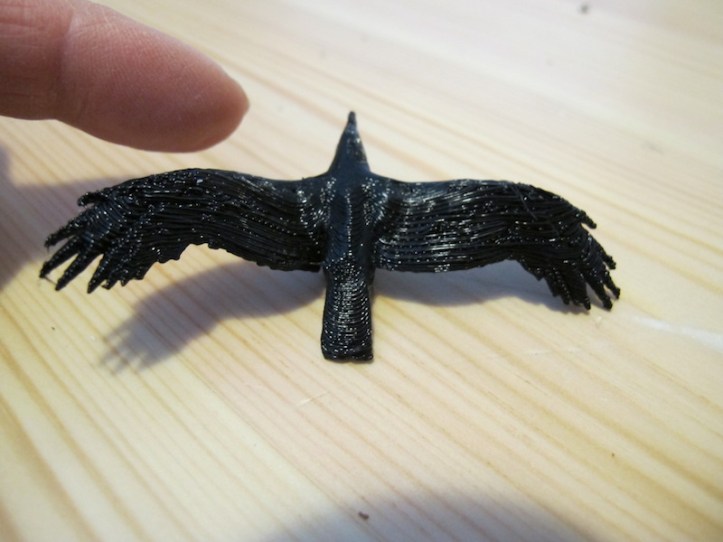


So, The Birds is coming, and I still have more to print. This has been a long process but now I know how to do 3D printing. Stay young and learn a new skill every year!
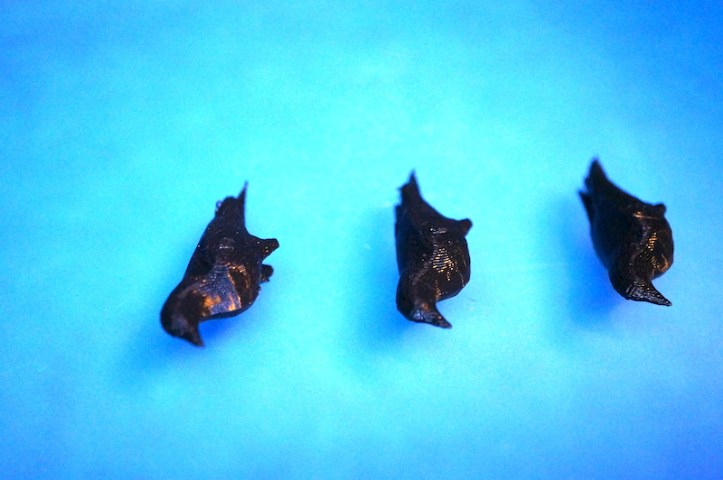
P.S. I have no clue how to attach these guys. Can’t get wire into their legs…

Heat the wire, push in, hold while cooling. Job done!
Great birds!
James
[…] was just a bit too big. I printed it in black plastic on my Replicator 2 (the same machine that printed the crows in The Birds last year) then painted it to look like old wood and stained the fabric that I put […]